You have hundreds of family videos sitting in a camera roll or in the cloud that no one ever watches. Sound familiar? What if there were a way to watch all of those memories, organized and together, on your TV, like a movie night of your own life?
That is exactly what I do. I take the little clips you have captured on your phone and turn them into something your family can finally sit down and enjoy together. With a Storyteller Movie, I edit your footage into a cinematic movie of your family’s story. With a Living Library, I organize all of your clips in chronological order, either as one combined video or as twelve monthly videos. Once I have delivered your files, this guide shows you how to upload them to YouTube privately and for free, then watch them with your family on your smart TV.
If you found this page on your own and are not yet a Watch Your Life client, you can learn more about my services here.
Before you start
This guide assumes you already have a YouTube channel and a verified account. Verifying is the part people most often skip, and it matters: it is what lets you upload videos longer than 15 minutes and add custom thumbnails. Both are free and take only a few minutes. YouTube explains each one better than I could, so here are their official how-to pages:
Quick checklist
- You have a YouTube channel.
- Your account is verified.
- You are on a computer connected to Wi-Fi, not uploading from your phone on cellular data.
- Your Watch Your Life video file or files are downloaded and ready.
Step 1: Upload your video
Open YouTube.com and make sure you are signed into your account. Then:
- Click the Create button in the top right corner. It looks like a camera with a plus sign.
- Select Upload video.
- Choose your video file from your computer.
- Give it a title that will be easy to find later, like Smith Family | March 2026.
- Under Thumbnail, click Upload file. The thumbnail is the preview image you see before you press play. I design mine for free in Canva: search for the YouTube Thumbnail template and add your family’s name.
- Under Audience, select “No, it’s not made for kids.”
- Click Next through the remaining screens until you reach Visibility. That is our next step.
Step 2: Choose a privacy setting
On the Visibility screen you have three choices. Here is what each one means for family videos.
Private
Only you can see the video, unless you manually invite someone by entering their email address. It will not appear in search results or anywhere else on YouTube.
Unlisted My top pick
Anyone with the link can watch, but the video will not show up in YouTube search. You just send the link, and whoever you share it with can click and watch.
Public
Anyone on YouTube can find and watch your video. For family memories, I would skip this one.
Select your setting, then click Save. If you want to share the video right away, copy the link at this point.
Step 3: Create a playlist and add your videos
Here is the step a lot of people skip, and it causes problems later. If you want to watch your private or unlisted videos through the YouTube app on your smart TV, they need to be in a playlist. Here is how to set one up:
- Click your profile icon in the top right corner and select YouTube Studio.
- On the left sidebar, click Content, then Playlists.
- Click Create in the upper right corner, then New playlist.
- Name it something like Family Videos | 2026.
- Set the visibility to Unlisted for easy sharing.
- Click Create, then add the videos you have already uploaded.
- To rearrange them, open the playlist, click Edit, and drag each video using the two horizontal lines on its left side.
Pro tip: If those two drag lines do not appear right away, it is just a YouTube quirk. Click the three dots next to any video and move it to the top or bottom. Once you have made that one manual move, the drag-and-drop lines will show up and you can rearrange everything from there.
To share the whole playlist with family, open it, click Share, copy the link, and send it along.
Step 4: Watch on your TV
Once your videos are uploaded and sitting in a playlist, the fun part begins. Open the YouTube app on your smart TV and make sure you are signed into the same Google account you used to upload. Then head to your Library and open Playlists to find the one you just created. Pick a video, press play, and gather the family.
If your playlist does not show up right away, double-check that every video is in the playlist (Step 3) and give it a minute to refresh.
Seven tips to save you frustration
These are the things I wish everyone knew before they started.
Tip 1 Verify your YouTube account first
Verification is free and unlocks two things you will definitely need: uploads longer than 15 minutes and custom thumbnails. It only takes a few minutes, and YouTube’s how-to page walks you through it.
Tip 2 Be patient with a brand-new account
Even after you are verified, YouTube may limit how many videos you can upload per day at first. That is normal. YouTube is just making sure your channel is legitimate. If a feature seems locked, give it a day or two and try again. It sorts itself out.
Tip 3 Always add unlisted or private videos to a playlist
This is a big one. Videos that are not in a playlist may not be visible through the YouTube app on your TV. Every time you upload, add the video to a playlist right away.
Tip 4 Set both the playlist and the videos to Unlisted
YouTube does not let you make a playlist private and share it with specific email addresses. If your playlist is private, the people you send the link to will not be able to see what is inside it.
And if your videos are set to Private inside an Unlisted playlist, viewers still will not see them unless you enter their email address under each individual video. That is a lot of extra work. The smoothest option for you and your family is to set both the playlist and every video in it to Unlisted.
Tip 5 Don’t panic if YouTube flags a copyright notice
If a popular song is playing in the background of a birthday party or holiday gathering, YouTube may flag the video with a copyright notice. It can feel alarming the first time, but it does not mean you are in trouble, and it does not mean your video will be removed.
It typically means the video may be blocked in certain countries, or that ads might run on it, which does not affect you since your family is the only audience. Your video stays right where it is and your family can still watch it.
Tip 6 Upload from a computer on Wi-Fi, not your phone
Family video files can be large. Uploading from a phone over cellular data can be slow, get interrupted, or fail partway through. Sit down at your computer, make sure you are on Wi-Fi, and the upload will go much more smoothly.
Tip 7 Give YouTube time to process
After you upload, YouTube needs time to process your video, especially longer ones. If it looks blurry or low quality when you press play right away, do not worry. Full HD can take anywhere from a few minutes to a few hours depending on the file size. Check back a little later.
That’s it. You now know how to upload your family videos, keep them unlisted, organize them into playlists, and watch them on your TV.
Ready to watch your own story on the big screen?
I turn the clips on your phone into a finished movie your family can watch together. Once it is ready, this guide will help you bring it to the TV.
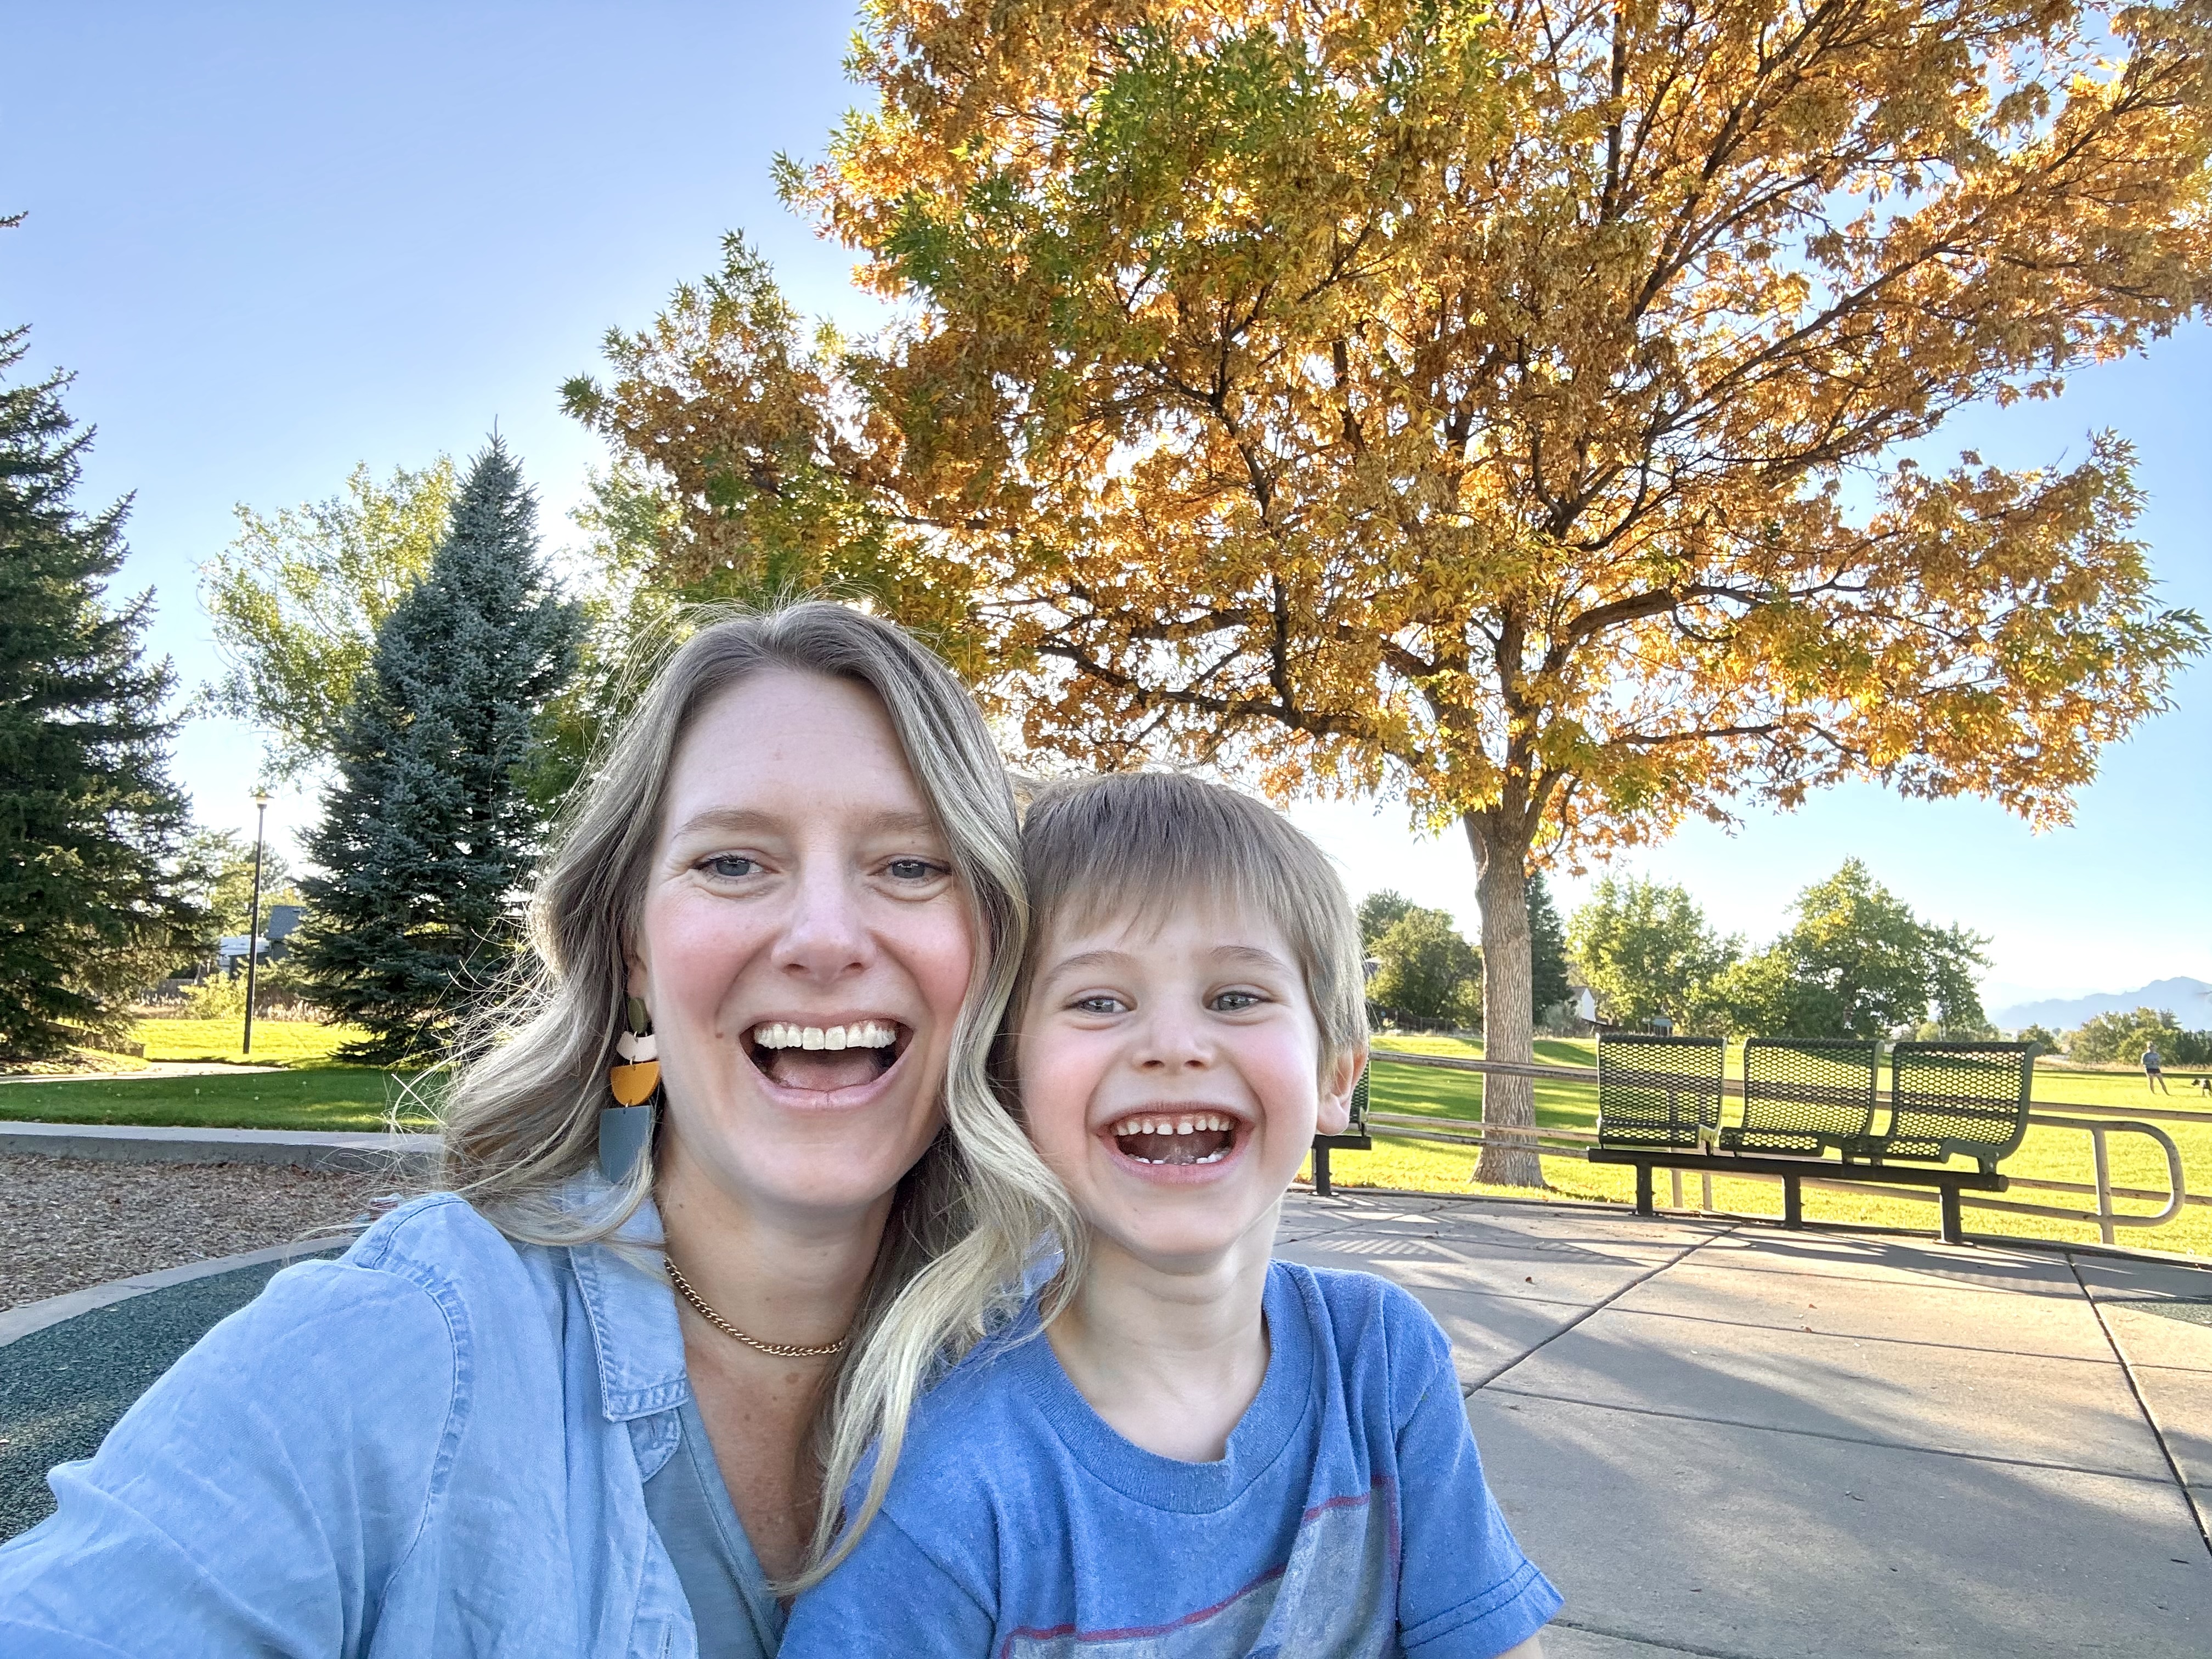
Hi, I’m Carolyn. I turn the clips on your phone into movies your family can watch together on the TV. Get to know me, or email me with a question.